The following documentation will show you how to create Retail & Promo Shelf Labels using your WinHH.
Before I show you how to print the new retail and promo shelf labels, please make sure that you have the 2 new buttons added under the Manager tab on your PDI/Desktop.

If you do not see these buttons, please run the  and
and  on your PDI/Desktop.
-------------------------------------------------------------------------------------------------------------------------------------------
The process to print the retail and promo labels is very simple. I will now walk you through the process in the below 2 sections.
1. How to Print Retail Labels
- Scan labels using your new Windows Handheld (WinHH)
- Just like before click ‘Get Labels from Handheld’ on PDI/Desktop

3. After transferring labels from your WinHH to the Back Office Computer, Click on ‘Retail Shelf Label Print’ on PDI/Desktop

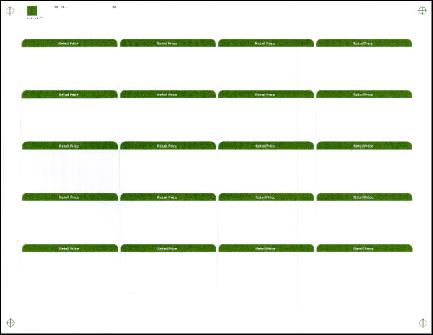
4. Ensure that the retail label tags (as shown below) are in the selected printer tray:
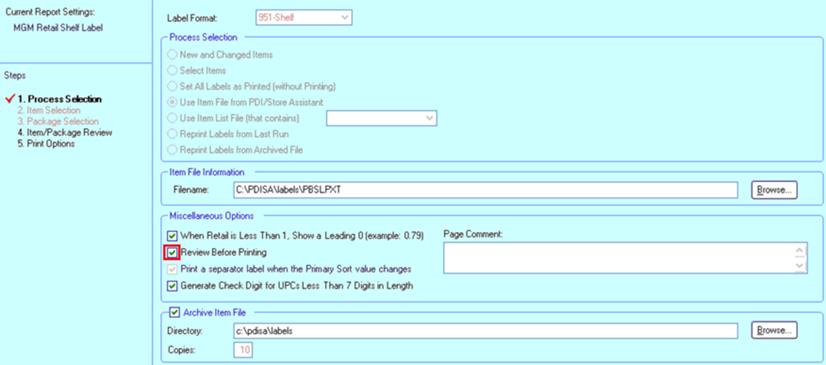
5. If you want to review your labels, select the checkmark beside ‘Review Before Printing’
6. Click ‘Next’

7. After reviewing the labels, click ‘Next’

8. Click ‘Finish’

9. Click 'OK'

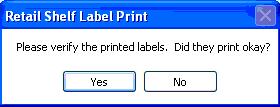
10. Click ‘Yes’ if your are happy with the print job, otherwise click ‘No’ and try again
2. How to Print Promo Labels
- Scan labels using your new Windows Handheld (WinHH)
- Just like before click ‘Get Labels from Handheld’ on PDI/Desktop

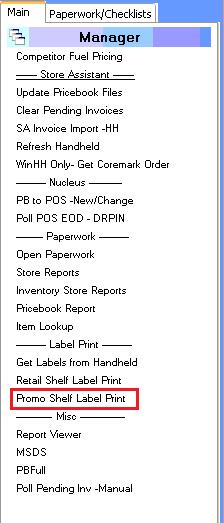
3. After transferring labels from your WinHH to the Back Office Computer, Click on ‘Promo Shelf Label Print’ on PDI/Desktop
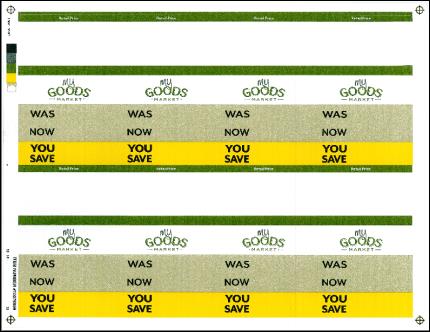
4. Ensure that the promo label tags(as shown below) are in the selected printer tray:
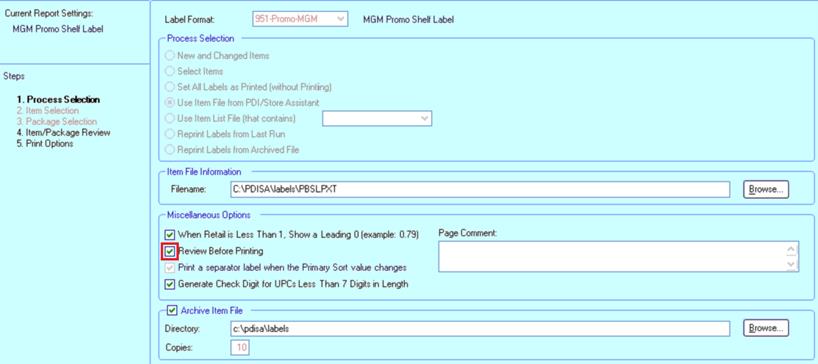
5. If you want to review your labels, select the checkmark beside ‘Review Before Printing’
6. Click 'Next'

7. After reviewing the labels, click 'Next'

8. Click 'Finish'

9. Click 'OK'

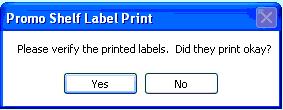
10. Click ‘Yes’ if your are happy with the print job, otherwise click ‘No’ and try again
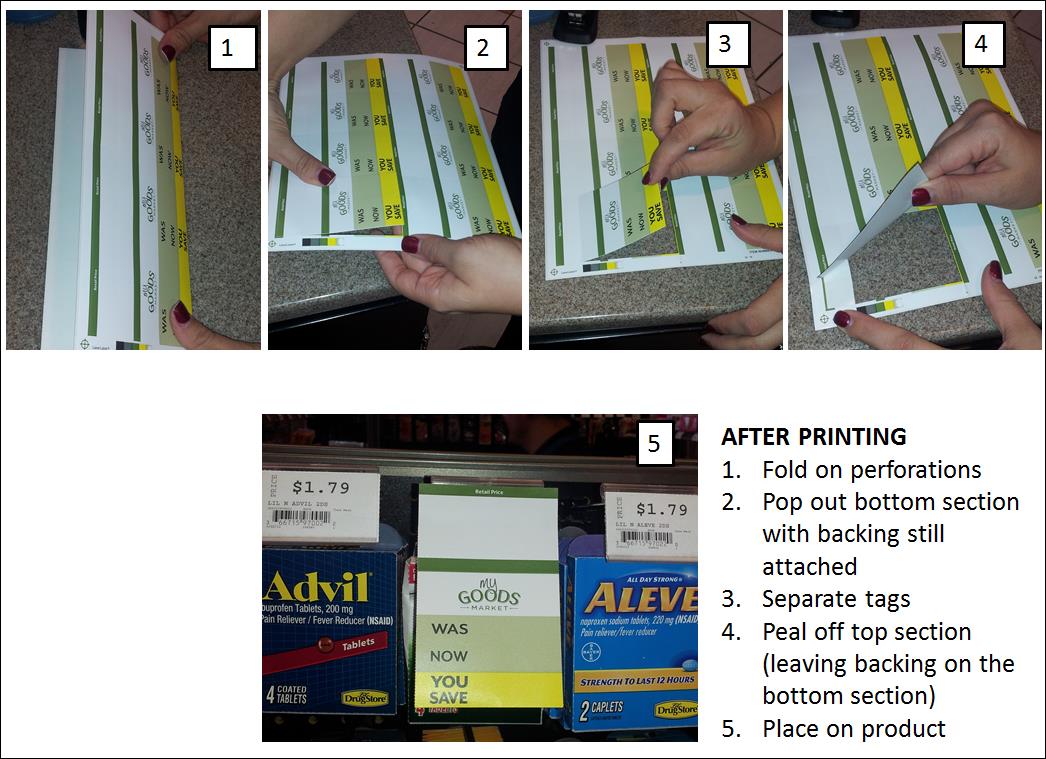
11. Please follow the below instructions on how to correctly fold the tags before attaching them on the shelf.
